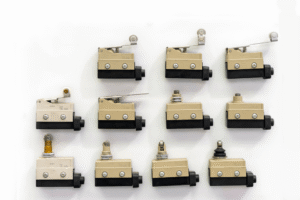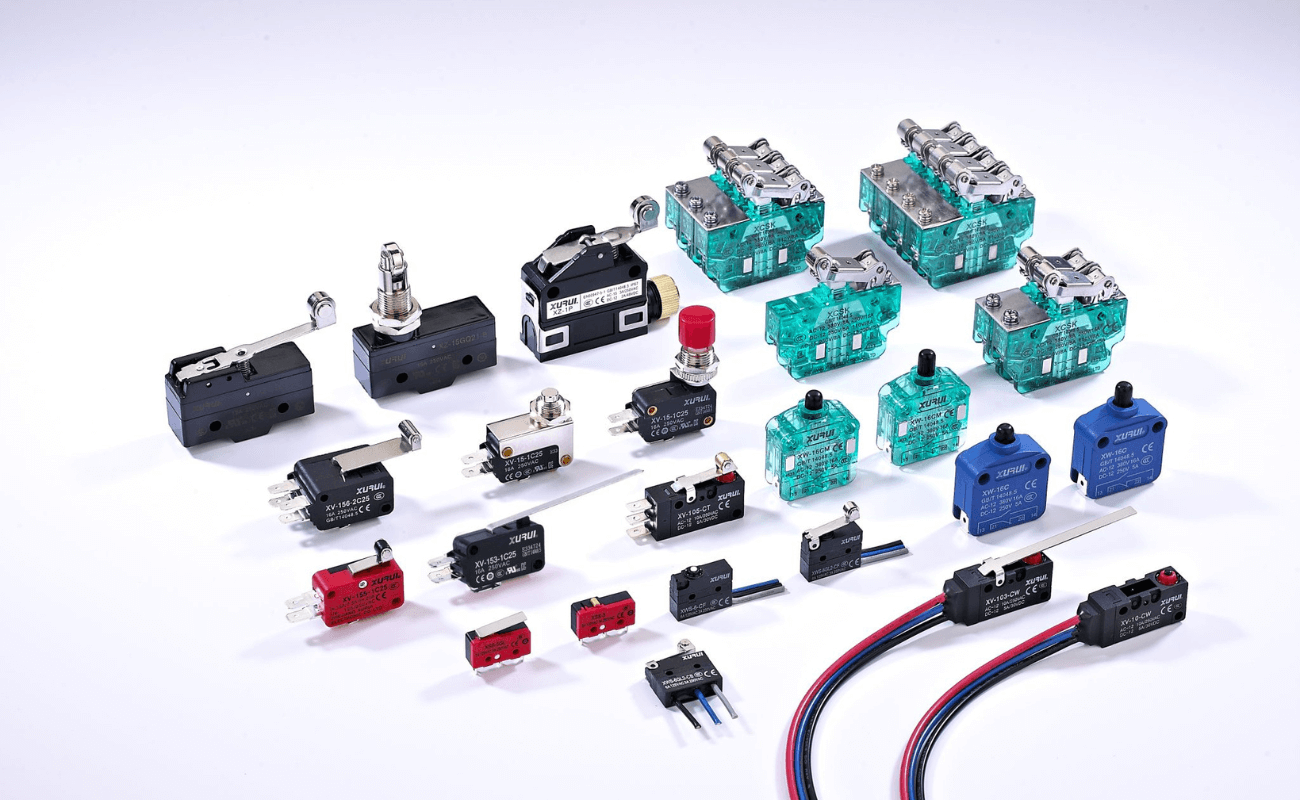
When your electric scooter or e-bike suddenly stops responding, the problem isn’t always the battery or wiring — it could be a tiny micro switch. These small components control brakes, throttles, and lights, and a single failure can disrupt your entire ride.
This guide will show you how to spot the signs of a bad micro switch, test it with simple tools, and choose a reliable replacement to keep your commute running smoothly.
Understanding Micro Switch Basics
Before we test anything, it helps to know what a micro switch actually does.
What It Does
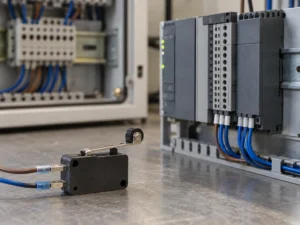
A micro switch is a snap-action switch that activates with very little force. When pressed, its contacts either open or close a circuit instantly, making it perfect for precise on/off control.
You’ll typically find micro switches in:
- Electric scooters & e-bikes: brake levers, throttle sensors, kickstands
- Home appliances: microwave door latches, washing machine lid sensors
- Industrial controls: safety interlocks, limit switches
Why Micro Switches Fail
Despite their durability, micro switches can fail due to:
- Mechanical wear: Springs weaken after thousands of cycles.
- Moisture or dust: Causes internal corrosion or contact sticking.
- Overloading: Applying current beyond rating burns out the contacts.
- Cheap construction: Low-quality materials lead to early failure.
Common Signs of a Bad Micro Switch
Lack of Audible or Tactile Click
A healthy switch produces a sharp, tactile “click.” If you press it and feel mushiness or silence, the internal mechanism may be damaged.
Intermittent Functionality
If your throttle or brake sensor works sometimes but not always, it could be a sign of worn contacts.
Visible Physical Damage
Cracked housing, scorch marks, rust, or loose terminals are clear indicators the switch should be replaced.
Tip: On scooters and e-bikes, a bad brake switch often causes the motor to cut off constantly — a classic sign of a stuck switch.
Related Reading: How Long Does a Micro switch Last?
Step-By-Step Testing Guide
You don’t need expensive tools to check a micro switch — just your senses and a basic multimeter.
Step 1: Visual Inspection
- Disconnect power to avoid shocks.
- Look for cracks, corrosion, or burnt spots.
- Clean off dust and debris with contact cleaner. Sometimes this alone restores function.
Step 2: Manual Click Test
- Press the actuator with your finger.
- A good switch gives a distinct, crisp click.
- A silent or “mushy” feel means internal wear.
Step 3: Multimeter Continuity Test
This is the most reliable way to confirm if a switch is working:
- Safety first: Disconnect the scooter battery or power source.
- Set multimeter to continuity mode (or ohms if no continuity setting).
- Connect probes to switch terminals.
- Press and release the switch.
- When pressed, the meter should beep or show near-zero resistance.
- When released, it should show “OL” (open circuit).
If the reading is unstable or shows no change, the switch is faulty.
How to Choose a High-Quality Replacement
Once you’ve confirmed the switch is bad, choosing a good replacement is essential for long-term reliability.
Check Electrical Ratings
- Match the voltage and current ratings of your scooter or e-bike.
- Using an underrated switch can lead to overheating or early failure.
Look for Durability Standards
- Choose micro switches rated for at least 100,000 actuations (many quality switches exceed 1 million).
- For outdoor use, pick IP-rated switches that resist water and dust.
Choose Trusted Brands and Suppliers
Avoid unbranded or very cheap switches, as they often have a shorter lifespan and inconsistent performance.
If you’re also exploring switches for related applications, consider sourcing from a reputable supplier like XURUI Micro Switch Supplier. Working with a trusted supplier ensures product consistency, reliable lead times, and better technical support.
When evaluating suppliers, check for:
- Proven reputation and customer reviews
- Quality certifications (CE, UL, RoHS)
- Customization options for special projects
- Responsive after-sales service and warranty
Extra Features to Consider
- Low contact resistance for better signal transmission
- High vibration resistance for commuting vehicles
- Compact size for easy installation in tight spaces
Preventing Future Micro Switch Failures
A little maintenance goes a long way:
- Keep switches clean and dry — use dielectric grease if exposed to water.
- Avoid pressing switches harder than necessary.
- Check wiring regularly to prevent loose connections that cause arcing.
Conclusion:
A faulty micro switch is easy to diagnose with a quick inspection, click test, and multimeter check. Replacing it with a high-quality part and doing simple maintenance can prevent future breakdowns and keep your scooter or e-bike running safely.
Frequently Asked Questions
1. Can I repair a bad micro switch?
Cleaning may help if dirt is the problem, but most failures require replacement.
2. Do micro switches wear out?
Yes. Even high-quality ones have a rated life cycle, usually 100k–1M actuations.
3. How often should I check them?
Include micro switches in your scooter or e-bike’s routine maintenance every few months.
4. Are all micro switches interchangeable?
No. Size, rating, and actuator style vary; always match the specifications.
5. Can a faulty micro switch cause other problems?
Yes. A stuck brake switch, for example, can prevent your motor from running, making the scooter appear “dead.”