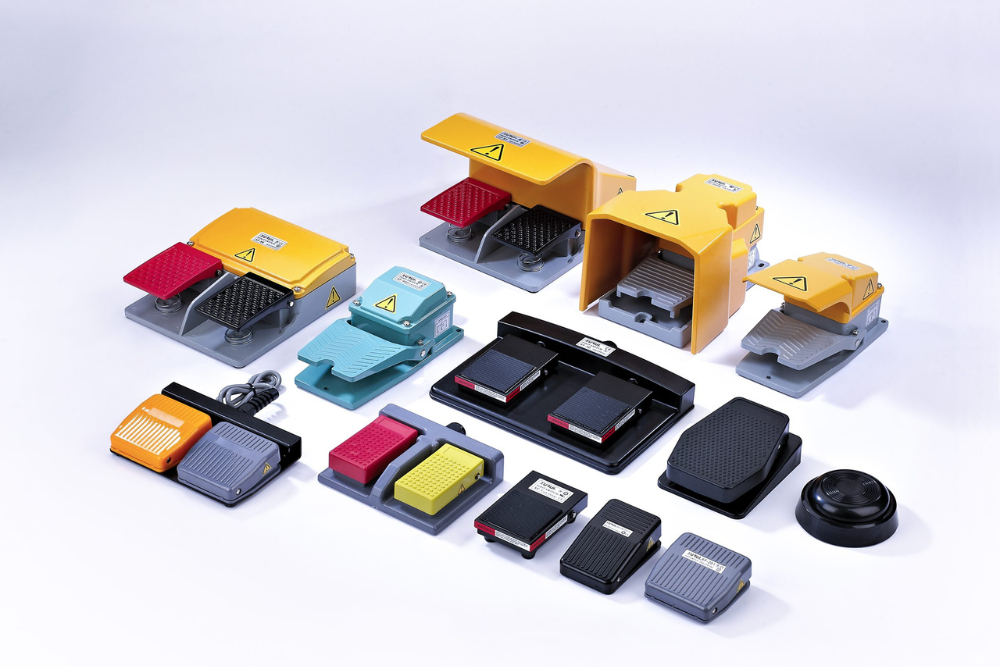
In a professional or industrial environment, a failing foot switch means more than just a minor glitch; it means costly downtime, compromised safety, and lost productivity.
If your equipment is unresponsive, sticking, or intermittent, you may not need a full replacement. This guide identifies the five most common failure points and provides actionable, in-house technical solutions to restore your workflow and extend your hardware’s lifespan.
1. Cable Stress And Internal Wire Fatigue
The most common point of failure isn’t actually the switch itself, but the “lifeline” connecting it to your equipment. Because foot switches live on the floor, they are subjected to constant tugging, rolling chair wheels, and sharp bends that eventually snap the delicate copper strands inside the insulation.
Diagnosing And Strengthening Your Connection
- The Wiggle Test: Plug your switch in and activate it while gently wiggling the cable near the base of the pedal and the jack. If the signal cuts in and out, you’ve found a break in the internal wire.
- The Quick Fix: If the break is near the plug, you can often cut off the old connector and solder on a new Heavy-Duty 1/4″ or USB replacement plug.
- Preventative Maintenance: * Create a Service Loop: Never pull a cable tight. Leave a small circle of slack near the pedal to absorb sudden movements.
- Heat Shrink Tubing: Apply a layer of heat shrink tubing over the point where the wire enters the pedal. This acts as an external skeleton to prevent sharp, snapping bends.
2. Oxidation And Dirt On Internal Contacts
Even in clean environments, microscopic dust, pet hair, and moisture find their way inside the housing. Over time, a thin layer of “gunk” or oxidation builds up on the metal contact points, acting like an insulator that blocks the electrical signal from passing through.
Restoring The Electrical Path
- The “Dry Click” Method: Sometimes, clicking the switch rapidly 30–40 times while the power is off can physically knock loose minor debris or friction-clean the contacts.
- Contact Cleaner Protocol: 1. Open the casing (usually 4 screws on the bottom plate). 2. Identify the micro-switch (the small box the pedal hits). 3. Spray a small amount of DeoxIT or specialized Electronic Contact Cleaner into the mechanism’s openings. 4. Actuate the switch repeatedly to work the fluid in.
- Pro Tip: Ensure the unit is completely dry before plugging it back in. Never use WD-40, as it leaves an oily residue that actually attracts more dust over time.
3. Mechanical Misalignment Of The Actuator
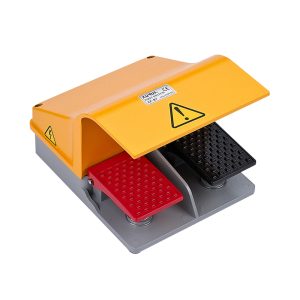
Inside your foot switch, there is usually a “flag,” a lever, or a plunger that physically pushes a button when you step down. If the pedal has been stomped too hard or dropped, this mechanical arm can bend or shift, causing it to “miss” the internal button entirely.
Realigning The Internal Hardware
- Visual Inspection: Open the pedal and watch the movement as you press it by hand. Look for any “play” or wobbling in the hinge.
- The Shim Technique: If the plunger isn’t reaching the switch anymore, you can apply a small piece of industrial-strength adhesive tape or a rubber dampener to the tip of the plunger to “extend” its reach and close the gap.
- Lubrication Checklist: * Use a tiny dab of lithium grease on the hinges and springs.
- Avoid over-greasing; you only want enough to reduce the friction that causes the pedal to feel “spongy” or slow to return to the upright position.
Related Reading: What is a Foot Switch Used For?
4. Interference And Pairing Drops In Wireless Models
In 2026, many foot switches have ditched the wires for Bluetooth or 2.4GHz signals. While convenient, these are prone to “ghosting”—where the command is sent by your foot but lost in the digital airwaves before it reaches the computer.
Optimizing Your Wireless Environment
- Clear the Signal Path: If you are surrounded by routers and wireless mice, your foot switch might be struggling. Move your receiver (if using a dongle) to a front-facing USB port rather than the back of a metal computer tower.
- Disable Power Saving: Windows and macOS often “put USB ports to sleep” to save energy.
- Go to Device Manager (Windows) or System Settings (Mac).
- Find Human Interface Devices (HID).
- Uncheck “Allow the computer to turn off this device to save power.”
- Battery Quality: Low-latency foot switches require consistent voltage. Even if the “low battery” light isn’t on, a battery at 15% charge can cause significant lag or missed actuations.
5. Software Driver And HID Profile Conflicts
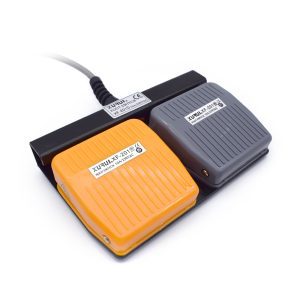
Sometimes the hardware is flawless, but the software has “forgotten” what the pedal is supposed to do. This is common after an OS update or when switching between different apps that both want control of your “Human Interface Device” (HID).
Refreshing The Digital Handshake
- Re-mapping The Command: Open your device’s configuration software (like Logitech G Hub, Elgato, or proprietary medical software). Delete the current “Enter” or “Spacebar” assignment and re-bind it. This forces the computer to write a fresh instruction file.
- The Factory Reset: Many modern programmable pedals have a small “reset” pinhole. Use a paperclip to hold this for 10 seconds while plugging the device in to clear the internal cache.
- Test in a “Clean” Environment: Open a simple Text Note app. If the pedal successfully types a character there, your hardware is fine—the problem lies within the settings of your specific professional software.
Final Thoughts: Maintenance Over Replacement
A failing foot switch doesn’t always signal the end of its service life. In most professional settings, the “failure” is simply a result of environmental wear or digital misalignment—both of which are manageable with the right approach. By implementing these five troubleshooting steps, you can save your organization the cost of new hardware while maintaining a seamless, hands-free workflow.
However, if your switch has suffered significant structural damage or the internal circuitry has shorted, it may be time to upgrade to a more durable, industrial-grade model. Regular inspections and simple preventative habits, like managing cable slack and keeping contacts clean, will ensure your equipment remains a reliable asset rather than a liability.
XURUI Engineering Team