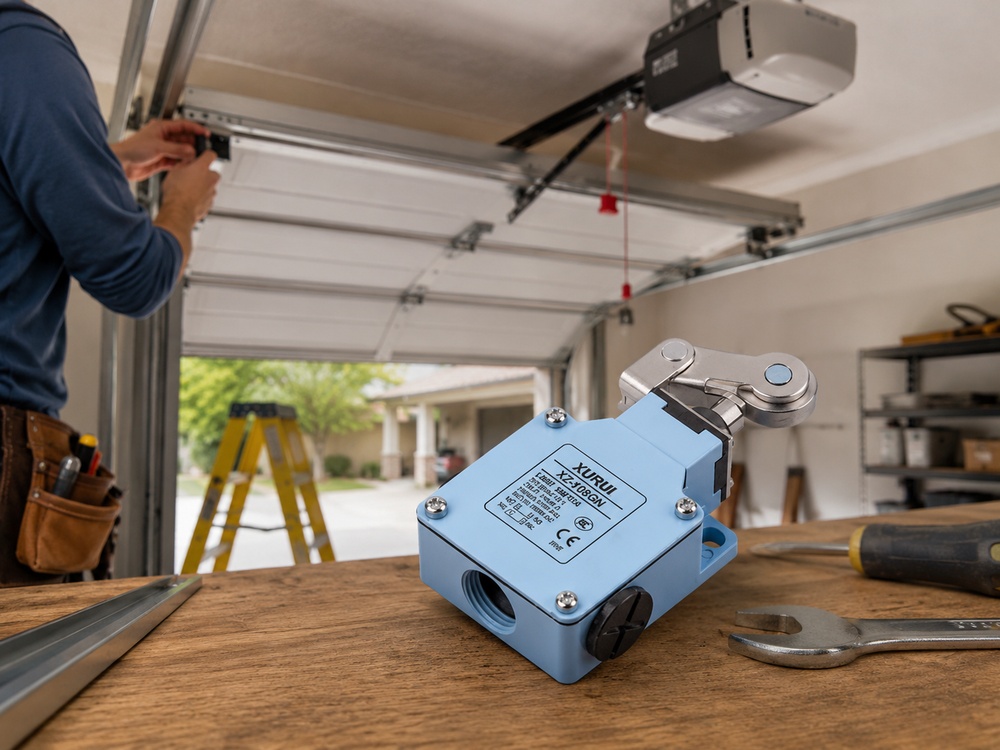
A garage door that won’t fully open, reverses before touching the floor, or stops mid-travel usually has a limit switch problem, not a motor or wiring fault. The limit switch tells the opener’s control board where “fully open” and “fully closed” are. When that signal drifts, the door behaves unpredictably and can turn into a safety risk.
This guide covers both adjustment (recalibrating travel distance) and repair (diagnosing and replacing a defective switch). Work through the sections in order. Adjustment comes first; replacement only makes sense once you’ve confirmed the switch itself has failed.
How a Garage Door Limit Switch Works
Most garage door travel faults trace back to a limit switch rather than the motor or wiring. Knowing what each switch controls and how a failure shows up tells you whether to adjust, test, or replace.
The Limit Switch’s Role in Door Travel
The limit switch sits on the opener’s drive assembly or rail. When the door reaches the preset travel endpoint, an actuator contacts the switch, cuts motor power, and holds the door in place. Most residential openers use two switches, one for the up (open) limit and one for the down (close) limit.
Older chain- and screw-drive units use physical adjustment screws that move a cam along the rail. Newer smart openers use electronic limit programming through the wall button or motor-unit panel. Both types drift out of calibration with extended use.
Symptoms of a Failing Limit Switch
Match your symptom against this table before starting any physical work.
| Symptom | Likely cause | First move |
|---|---|---|
| Door reverses the moment it touches the floor | Down-limit set too far, so the door presses the floor before the switch cuts power | Reduce down travel |
| Door stops short of fully open | Up-limit set too short | Increase up travel |
| Door opens or closes, then reverses right away | Limit and force settings both need work | Adjust both |
| Opener runs but the door doesn’t move | Drive or trolley fault, not the limit switch | Inspect the drive |
| Door sits with a visible gap above the floor | Down-limit needs a small travel increase | Increase down travel |
If the symptom points to a burned control board or mechanical drive damage, adjusting the limit switch won’t fix it. Work through the diagnosis steps further down before ordering any parts.
Safety and Preparation
Adjusting an opener means working overhead on a powered, spring-loaded system. Safe access and the right tools come before any turn of a screw.
Safety Precautions Before Starting
Keep these cautions in mind throughout any adjustment or repair:
- Disconnect the opener from mains power before opening the motor-unit housing or touching wiring.
- Never adjust or repair torsion springs yourself. That job needs specialist tools and falls outside this guide.
- Keep your hands clear of the track and rollers during any test cycle.
- Use a stable step ladder, since the motor unit mounts overhead.
- Test the door’s travel after every adjustment before closing the access panel.
Tools and Access Requirements
For screw-type openers, a flathead screwdriver (3/16″ or 1/4″) is enough. For physical switch replacement, you’ll also need a Phillips screwdriver, needle-nose pliers, and a multimeter set to continuity mode. Check the opener’s model label and confirm screw locations and rotation direction in the manufacturer’s manual before you start.
Check your manufacturer’s manual before making adjustments, since some actions can affect your warranty.
How to Adjust Garage Door Limit Switches
Your opener manual may call this resetting or recalibrating the travel limits, but it means one task: moving the door’s stop points back where they belong. First confirm which system your opener uses, screws or electronic programming, then follow only that method, since the two procedures are not interchangeable.
Adjusting Screw-Type (Manual) Limit Controls
On most chain- and screw-drive residential openers, one full turn of the limit adjustment screw changes travel by about 2 inches (5 cm). Always verify this figure against your specific model’s manual.
- Find the adjustment screws on the side of the motor unit, labeled “UP” and “DOWN” or marked with directional arrows.
- Door stopping short of fully open: turn the UP screw clockwise, one turn at a time, to add up travel.
- Door stopping short of the floor, a gap with no reversal: turn the DOWN screw counterclockwise to add down travel.
- Door pressing hard into the floor and reversing: turn the DOWN screw clockwise to cut travel.
- After each adjustment, run a full open-close cycle and watch the stop position before changing anything else.
- Don’t exceed two turns before testing. Overcorrecting is the most common adjustment mistake.
Adjusting Electronic (Button-Programmed) Limit Controls
Smart openers use a programming sequence instead of screws. The exact buttons vary by model, but the general procedure follows this pattern.
- Press and hold the “LIMIT” or “SET” button on the motor unit until the indicator light blinks.
- Use the up and down arrow buttons to move the door to the stop position you want.
- Press “SET” to confirm and save.
- Run a full cycle and verify both travel endpoints before closing the panel.
- If the door reverses unexpectedly after programming, the force adjustment may also need work, since that setting controls push pressure separately from the travel limits. Check the opener manual for the force-calibration sequence.
On openers with auto-learning routines, the unit runs the door through a full cycle on its own. Don’t press any buttons during this cycle.
How to Diagnose and Replace a Faulty Limit Switch
Replacement comes into play only after adjustment fails to hold. A dead switch looks a lot like a drive or control-board fault, so isolate it before spending on parts.
Diagnosing the Fault Step by Step
If adjustment doesn’t fix the problem, test the switch directly before ordering a replacement.
- Disconnect the opener from power.
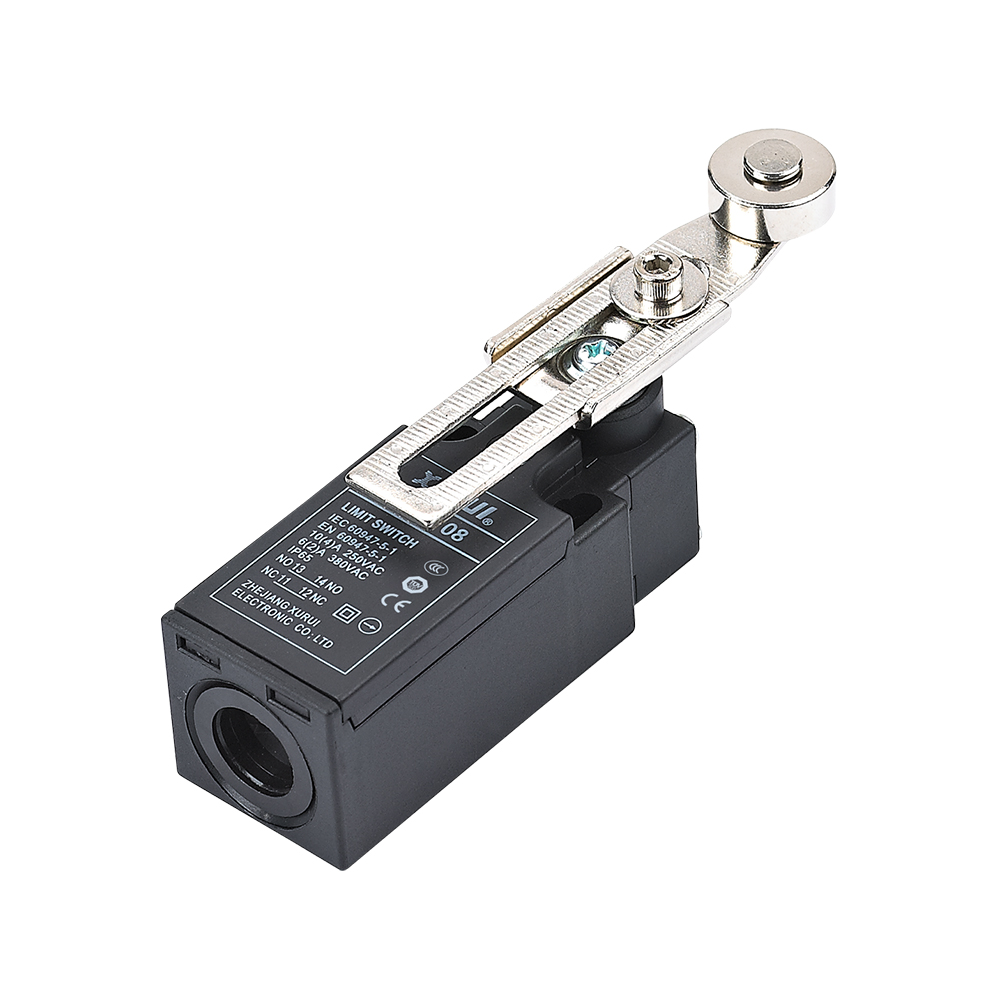
- Find the limit switch on the drive assembly, a small plastic housing with a lever actuator and two wires.
- Set a multimeter to continuity mode.
- With the actuator lever at rest (un-pressed), test across the switch terminals. A normally closed (NC) switch shows continuity at rest; a normally open (NO) switch shows none. For how contact configuration affects safety behavior, the NO vs NC Limit Switch guide covers selection criteria and wiring logic.
- Press the actuator lever by hand. The reading has to change state. If it doesn’t, the contacts have failed.
- Check for physical damage: cracked housing, bent lever, or corroded terminals. Any of these justifies replacement regardless of the continuity result.
For a structured process that covers wiring checks and common failure modes across switch types, the Limit Switch Testing Guide covers the full diagnostic procedure.
Replacing the Limit Switch
Once you’ve confirmed the switch has failed:
- Photograph the wiring before disconnecting anything.
- Remove the mounting screws and slide the switch off the rail or drive assembly.
- Move the wiring to the replacement switch, matching each terminal to its original position.
- Seat the new switch and tighten the mounting screws until the housing sits flush against its stop.
- Reconnect power and run a manual test cycle before you put any cover panels back.
- Verify both travel endpoints match the stop positions you want.
When sourcing a replacement, match the part number from the opener’s model label instead of going by appearance. Lever-arm length and actuator travel vary a lot between models. For commercial or higher-cycle automated gate systems, the Limit Switch vs Proximity Sensor comparison shows when non-contact sensing becomes the better long-term call, and a heavier-duty industrial limit switch outlasts a residential-grade part.
Post-Repair Verification Checklist
Run through every item below after adjustment or replacement, before the door goes back into regular use.
- Door fully opens without stopping short or straining the motor.
- Door closes flush with the floor, with no visible gap and no reversal on contact.
- Motor cuts out cleanly at both endpoints, with no buzzing or coasting past the stop.
- Remote and wall button both trigger correct full travel.
- Safety reversal test passes: lay a 2×4 flat on the floor, and the door has to reverse on contact.
- Manual release cord works freely, and the door holds position when released.
- No grinding or clicking during the travel cycle.
- All cover panels back on and fasteners secure.
If any item fails, keep the door out of regular service until you resolve the fault. An improperly set down limit can defeat the auto-reverse safety function, which creates a serious safety hazard.
If the switch passes every test but the door still behaves erratically, the control board or wiring harness needs a look. That level of diagnosis usually warrants a professional, especially when the opener is under warranty and unauthorized disassembly would affect support terms.
Frequently Asked Questions
Why does my garage door reverse immediately after touching the floor?
The down-limit is set too far, so the door presses the floor and trips the auto-reverse force sensor before the limit switch cuts power. Reduce down travel by turning the DOWN screw clockwise, one turn at a time, and test after each change. If the door instead reverses in mid-air before reaching the floor, that points to the close-force setting or an obstruction, not the down limit.
Is the limit switch the same as the safety reversal photo-eye sensor?
No. Photo-eye sensors mount near the floor and reverse the door when an obstruction breaks the infrared beam. Limit switches control travel distance only. The two systems are separate, though a miscalibrated down limit can cause false reversal behavior that looks like a sensor fault.
When should I call a professional instead of adjusting the limit switch myself?
Call a professional if the door uses a torsion spring system above the opening (not side extension springs), if the control board shows error codes beyond limit-switch faults, or if the opener is under warranty and disassembly would void support. Travel-screw adjustment is low risk, but board-level diagnosis can damage the unit and is better left to a professional.
How often do garage door limit switches need recalibration?
There’s no fixed service interval. Switches drift gradually after extended use, seasonal temperature swings, or a door impact. A practical rule: check travel endpoints at the start of each heating and cooling season, and after any hard impact or power surge.
Do commercial gates use the same limit switches as a home garage door?
No. A home opener part handles a few cycles a day, but commercial gates and barriers can run hundreds, so they use industrial limit switches with higher operation ratings and better sealing against dust and moisture. A specialist manufacturer like Xurui Switch builds switches to that commercial duty, certified to standards like CE and UL.
XURUI Engineering Team
Industrial SPST toggle switch on a control panel](https://xuruiswitch.com/wp-content/uploads/2026/09/spst-toggle-switch-industrial-control-cover-300x225.webp)
SPST toggle switch product on a clean electronics workbench](https://xuruiswitch.com/wp-content/uploads/2026/09/spst-toggle-switch-cover-300x225.webp)